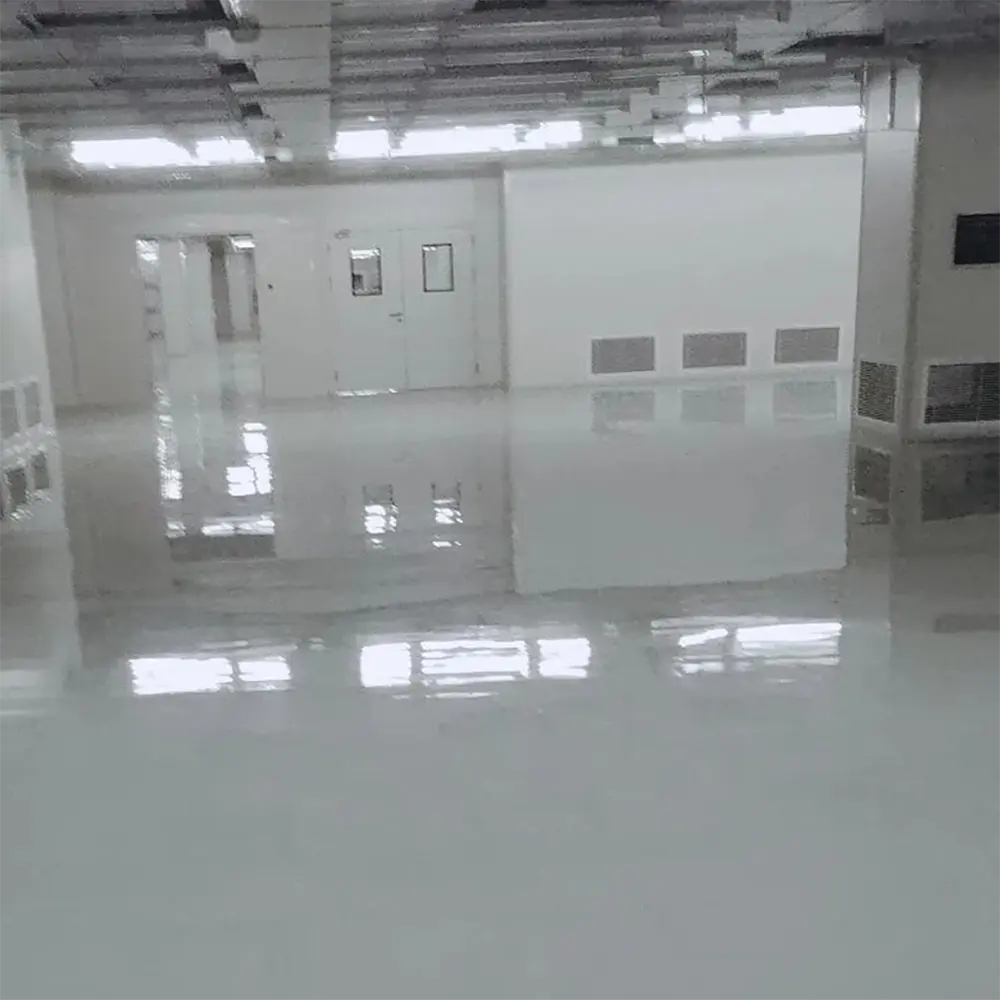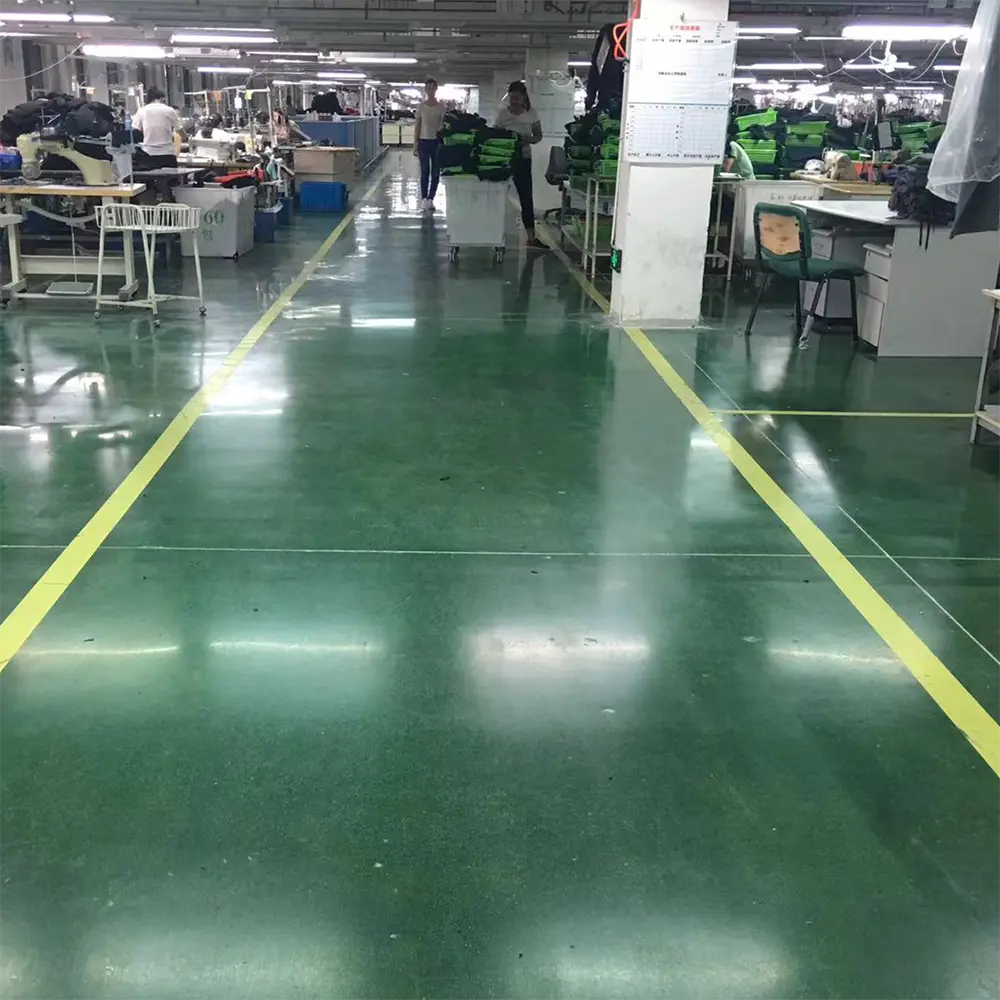

Product Application


Unbleached Emery Coating Structure

Construction Process
|
Process name |
Specific practices and requirements |
| Surveying and laying out | (1) Review the entire site according to the elevation points given by the general contractor, mark the 1M line of the building on the wall and column surface, and check the height between the cushion layer and the final finished surface to determine the final concrete layer thickness. (2) The compartment design specifies a compartment size of no more than 40M, and the one-time pouring is controlled within 1,500 square meters. |
| Clean up the base | To increase the contact area and adhesion between the concrete surface layer and the structural layer, use a special concrete milling machine to mill the original concrete surface layer, remove the surface slurry layer, and form a grooved rough surface on the concrete base surface; then use sweeping and vacuuming (use a high-pressure water gun or high-speed sweeper when necessary), and use manual chiseling to clean up the uneven base layer and debris, and finally rinse with water to keep it moist. |
| Set up formwork | Arrange the construction area in a reasonable order in advance, and then fix the steel or wooden formwork according to each construction area. (1) Formwork support: According to the layout position, expand the formwork 10MM along the compartment line and use the steel bar + channel steel fixing method. After fixing and stabilizing, use the level to adjust the surface elevation of the armored seam to make it consistent with the floor elevation, and the error is controlled within +1MM. (2) In the pouring area, all walls and column bases use 20MM thick extruded boards as isolation boards. The isolation boards are slightly higher than the floor elevation. The part that is higher than the floor after concrete pouring will be removed after the concrete construction is completed. Ensure the continuity of the extruded boards on the walls and columns, and fix them reliably to avoid loosening during the concrete pouring process. |
| Sweep the ground | Before pouring concrete, sweep the mortar, about 1 hour before pouring. (1) Soak the ground (preferably for more than 8 hours). (2) Absorb the accumulated water in the low-lying areas. (3) Sweep the mortar, and wet the surface (you can use the mortar, and then sprinkle water to wet the mortar). |
| Tie up steel bars and pour concrete | (1) Place the steel mesh according to the design drawings, and ensure that the steel mesh is placed in the upper part of the middle layer of the concrete (using pads). (2) First, manually lay the concrete roughly according to the floor elevation. (3) The concrete is directly delivered to the platform by a conveyor to increase the unloading speed. In order to ensure the quality of the concrete floor paving, arrange 2-3 or more concrete pouring workers to cooperate and level the surface of the concrete spread on the ground so that the pile is slightly higher than the design elevation (about 20-30MM). (4) At the same time, for the parts near the wall, exposed pipelines, columns, and the surrounding of the formwork, the concrete material about 20-50 cm away from the wall, column (formwork) is vibrated and leveled with a manual vibrator and a horizontal scraper. (5) The width of the concrete material laid on the ground each time shall not exceed 5 meters, and the length shall be based on the template boundary. The construction direction is from left to right (along the short side direction) and from front to back (along the long side direction). The recommended daily pouring volume is 1500-2000 square meters. Calculated based on an 8-hour workday, the feed rate is required to be 20-30 cubic meters per hour. (6) Immediately use a large laser leveler or vibrating beam to level the areas where the edges and corners have been vibrated to ensure the flatness of the floor. Use a rail vibrating beam to level the shelves, and a laser leveler to level other areas. (7) After the leveler is leveled, use a manual leveling scraper to perform a second leveling to remove floating debris on the concrete surface and improve the surface flatness again. |
| Construction of diamond wear-resistant aggregate | After the initial setting of concrete, when shallow footprints are left on the concrete surface after stepping on it, first use a trowel to dry-grind the surface. After the dry-grinding is completed, spread the hardener. The spreading method is to use a spreader to spread the material mechanically and manually. The material is spread evenly in two batches according to the specified amount of wear-resistant materials. The order is as follows:
(1) Spread about 2/3 of the wear-resistant materials evenly for the first time without adding water. (2) After the wear-resistant materials absorb a certain amount of water in the concrete (the surface wear-resistant materials are wet), use a single-disc or riding double-disc heavy-duty grinder to grind and extract the slurry. (3) After the wear-resistant materials harden to a certain stage (about 2 hours), spread the second time and spread 1/3 of the remaining amount. After the second layer of wear-resistant materials absorbs a certain amount of water, use a double-disc trowel to smooth it again. (4) After hardening to a certain degree, use a heavy-duty double-disc grinder to polish the surface. a. Adjust the operating speed and angle of the grinder according to the hardening condition of the concrete. b. Each step of grinding and polishing must be done at least twice; depending on the weather and environmental conditions of the day and the requirements for surface gloss. c. The polishing of the perimeter and corner areas of the column is carefully done by hand, using a thin steel trowel to achieve a matte finish, eliminate grinding marks, and finish the corners. |
| Floor maintenance | After the concrete pouring diamond sand wear-resistant floor construction is completed, watering and curing can be carried out 3 hours later. After the cutting is completed, the geotextile is laid and watered for curing. The curing time is not less than 7 days, and watering is carried out regularly to keep the finished floor surface moist to achieve the effect of curing concrete. |
| Cut the floor joints | (1) The concrete layer of the indoor floor should be provided with longitudinal and transverse shrinkage joints. The longitudinal shrinkage joints should be flat-headed or tongue-and-groove joints, evenly divided according to the ratio of column spacing, and the spacing should not exceed 6 meters. The transverse shrinkage joints should be false joints, set at the axis, with a width of 5MM and a depth of 1/3 of the plate thickness. (2) Cutting method: wet cutting. (3) Cutting time: Due to the high temperature in summer and rapid water loss, the cutting process should be started 12 hours after the surface is polished and completed within 36 hours to avoid irregular cracks caused by rapid water loss and excessive shrinkage stress. (4) Cutting depth: 1/3 of the plate thickness. (5) Cutting basis: Cut along the column spacing and considering the floor's aesthetics, at a spacing of 4~6M (not exceeding 6X6M). (6) Column edge cutting: The column edge cutting seam is 300MM of the column wrap angle and the seam width is 3-5MM. The column edge is cut in a diamond or arc shape. |
| Clean up the floor joints | (1) After the floor is cured and dried, remove all loose particles and dust from the cut joints. (2) First insert a foam strip into the cut joint. The diameter of the foam strip depends on the cutting progress at that time. (3) Use a glue gun to inject a sealant with long-lasting elasticity and fast curing into the joints, and naturally cure for 28 days. (4) Avoid introducing air when applying the sealant. (5) After the filling is completed, clean the ground and organize on-site inspection and acceptance by all parties. |
Finished Product Maintenance
1. Management is carried out in a zoned manner. Whoever works is responsible for it. Supervisors are set up to track and inspect the finished product protection in the work area every day. If any violation is found, rectification is ordered in time.
2. Newly poured concrete and mortar must be operated only after the concrete strength reaches 1.2MPA, so as not to damage the strength and apparent quality of the concrete.
3. For operations with heavy objects that are likely to cause heavy objects to damage the ground, the cross-construction team must lay wooden boards on the ground before construction. Heavy vehicles are not allowed to be used for construction, and cracks on the floor will occur.
4. For operations that are likely to cause ground pollution but do not involve heavy objects, the cross-construction team must lay colored strips before construction to protect the ground from pollution.