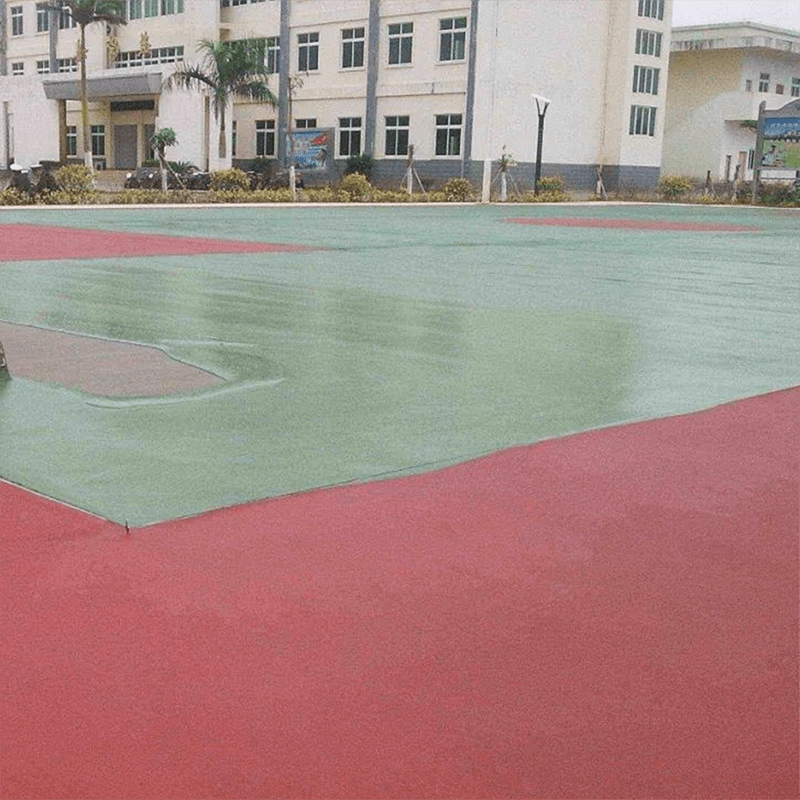

Product Application


Polymer Repair Mortar Construction Plan
| Process name | Specific practices and requirements |
| Basic requirements | The surface of the base layer should be smooth, rough, clean, and free of oil, floating dust, sand, hollows, and cracks. |
| Basic treatment | Rinse with high-pressure water before construction and keep it moist without water accumulation. When the interface is bonded, the interface treatment agent can be applied in advance. |
| Material preparation | Pour 90% of the actual amount of water into the powder and stir evenly, then gradually pour the remaining 10% of water and stir without lumps. The prepared mud should be used up within 0.5-1 hour. |
| Construction preparation | Apply the interface agent evenly on the surface of the wet concrete base layer (the ratio is 3:1), and the construction area of the polymer repair mortar should not be too large at one time. |
| Layered construction | When the thickness of the facade or top surface is greater than 10MM, it should be constructed in layers, strips, and blocks, and the area of each block should not exceed 10 square meters. The interval time of staggered construction should not be less than 24 hours. |
| Subsequent work | After the polymer repair mortar is laid, it should be plastered and leveled once immediately, and it is not advisable to repeat the plastering. If there are bubbles, they should be punctured and compacted, and the surface should be dense. |
Epoxy Repair Mortar Construction Plan
| Process name | Specific practices and requirements |
| Construction tools | Prepare an electric mixer, mixing bucket, bucket, spatula, soft brush, water spray equipment for maintenance, etc., the construction temperature is -5°C-40°C. |
| Determine the area | The scope of repair treatment should be expanded by 100MM, and the vertical edge of the concrete repair area should be cut or chiseled off, with a depth of ≥5MM to prevent the edge of the repair area from thinning. |
| Clean the base | Clean the dust and oil on the surface of the concrete base in the repair area, remove the loose parts, and clean the rust and debris on the surface of the exposed steel bars in the repair area. |
| Construction preparation | Chisel the cleaned concrete base in the repair area or use a concrete interface treatment agent for interface treatment, and then use an air pump or water to clean the surface of the treated concrete base in the repair area. No water should be left in the next process. |
| Mix mortar | Mix the epoxy repair mortar in a ratio of 1:2 or 1:3, stir mechanically for 2-3 minutes, and stir manually for about 5 minutes to ensure uniform mixing. |
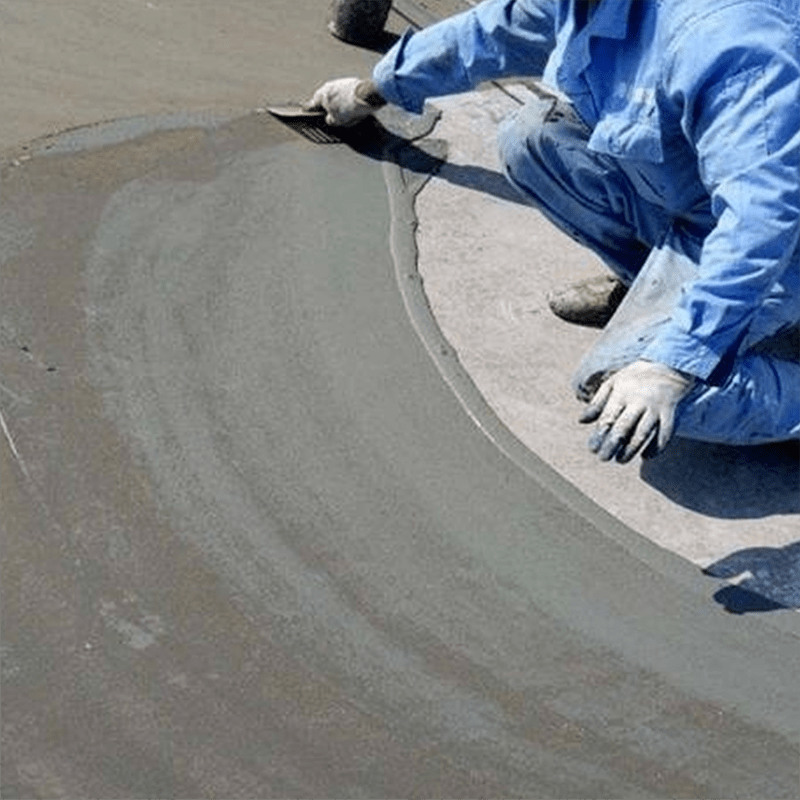
| Subsequent work | Apply the mixed epoxy repair mortar material evenly to the diseased area and wait for it to dry naturally. For surfaces that need to be calendered, the outermost plaster should be mixed slightly thinner and the timing should be well controlled to facilitate calendering. |
Concrete Repair Mortar Construction Plan
| Process name | Specific practices and requirements |
| Basic requirements | Remove loose animals from the concrete surface, clean the rust on the steel bars, and remove dust. Rust inhibitors can be used for steel bar treatment. |
| Foundation treatment | Mix the concrete repair mortar and additives into a paste and apply it to the concrete repair surface or other places that need to be repaired. |
| Material preparation | When preparing concrete repair mortar, minimize the amount of water while ensuring workability. When grabbing the material with your hands, no slurry flows out of your fingers. |
| Construction method | Apply the mixed concrete repair mortar to the repair area. The repair thickness should be greater than 50MM and layered. |
| Follow-up work | To improve strength and density, proper watering and curing should be carried out after construction. |
Finished Product Maintenance
1. During the construction process, ensure that the quality of the repair mortar meets the requirements, and select the appropriate repair mortar according to the damage to be repaired.
2. Before applying the repair mortar, ensure that the area around the damaged area is clean and flat to facilitate the adhesion of the repair mortar to the road surface.
3. When scraping the repair mortar, ensure that the surface is smooth and flat to avoid problems such as bubbles and hollows.
4. During the maintenance period, avoid disturbing or impacting the repair area to avoid affecting the quality of the repair.
5. If there is a large damage or the repair effect is not ideal, it is recommended to ask a professional to repair it.

Write your message here and send it to us