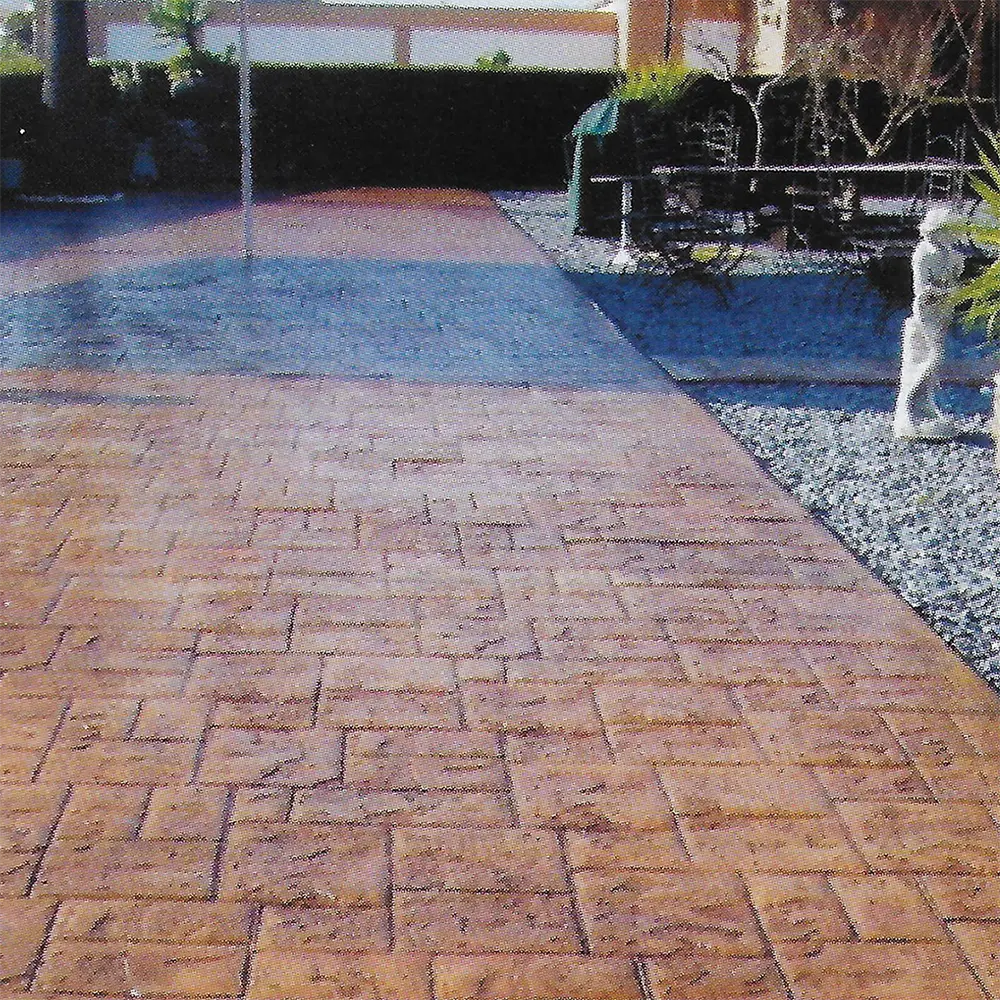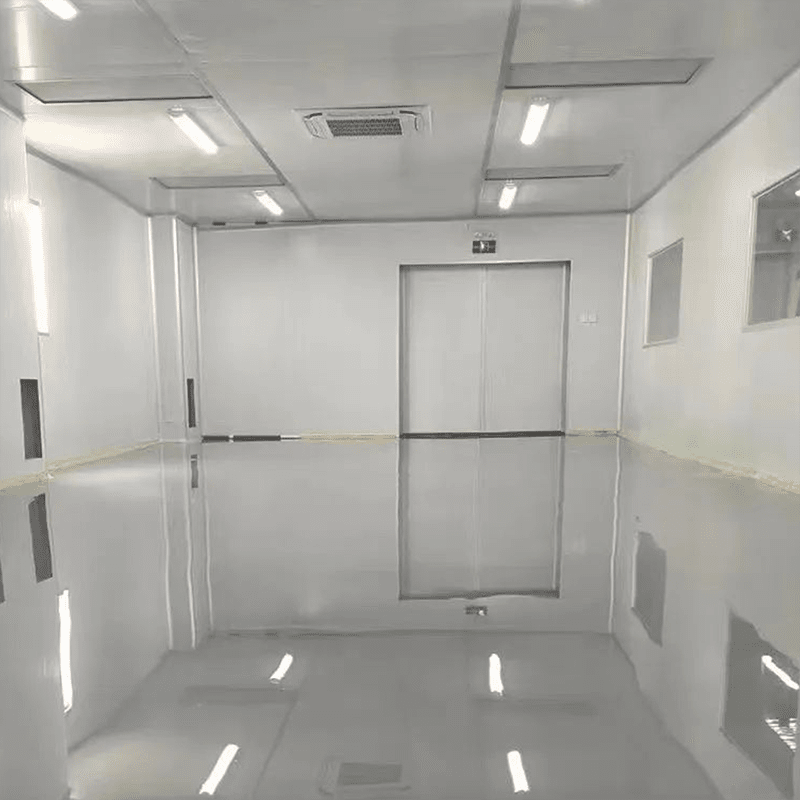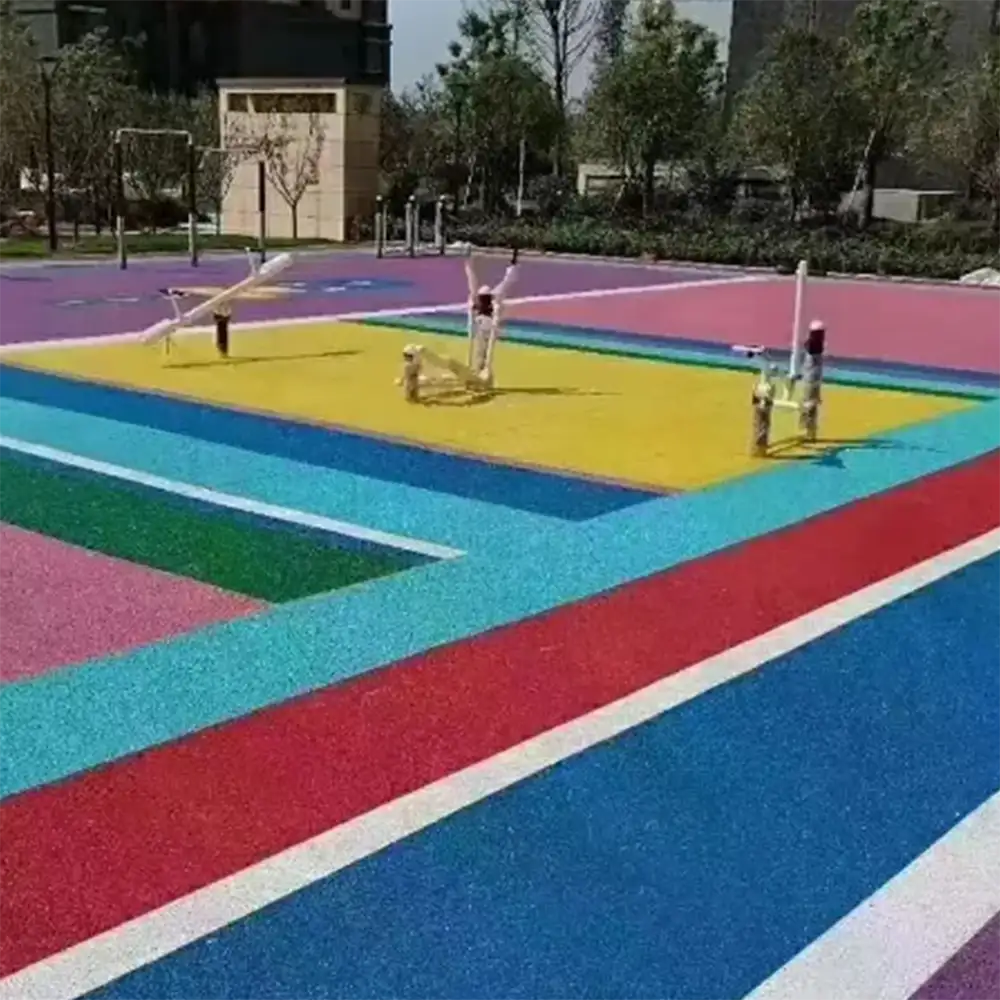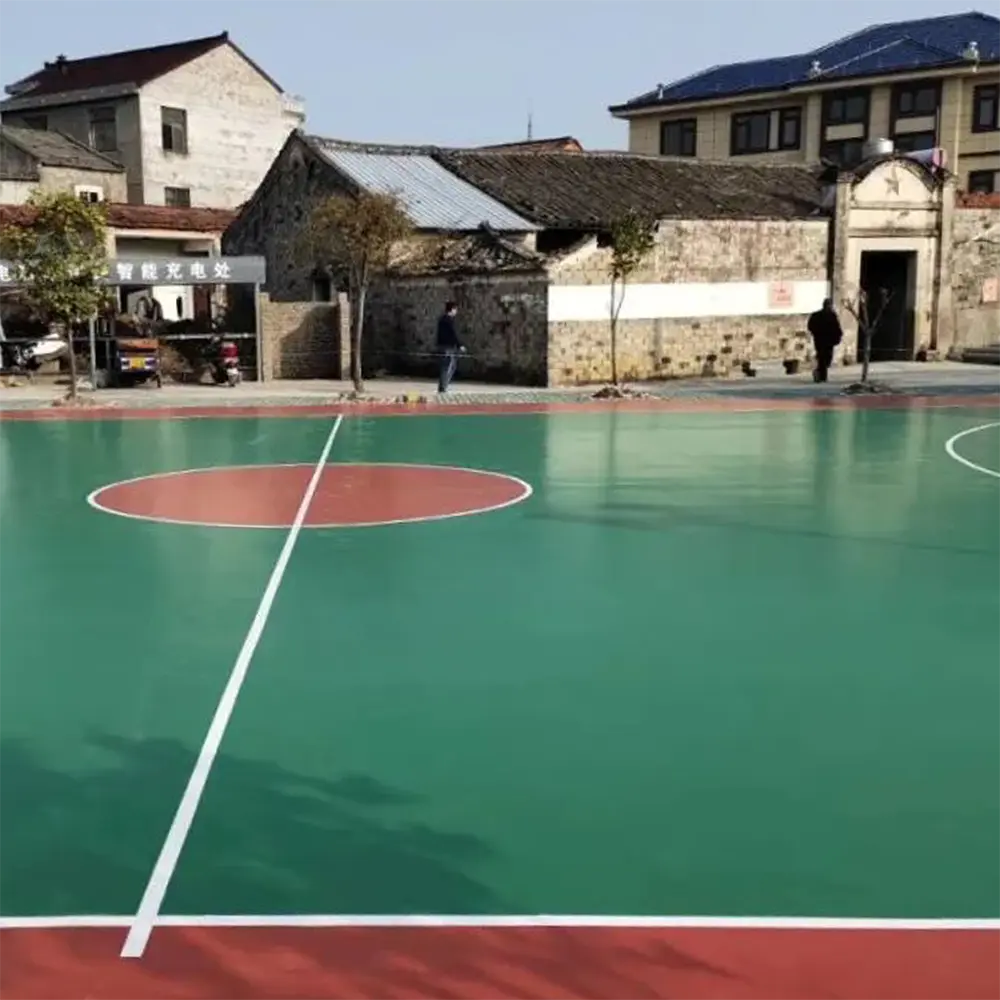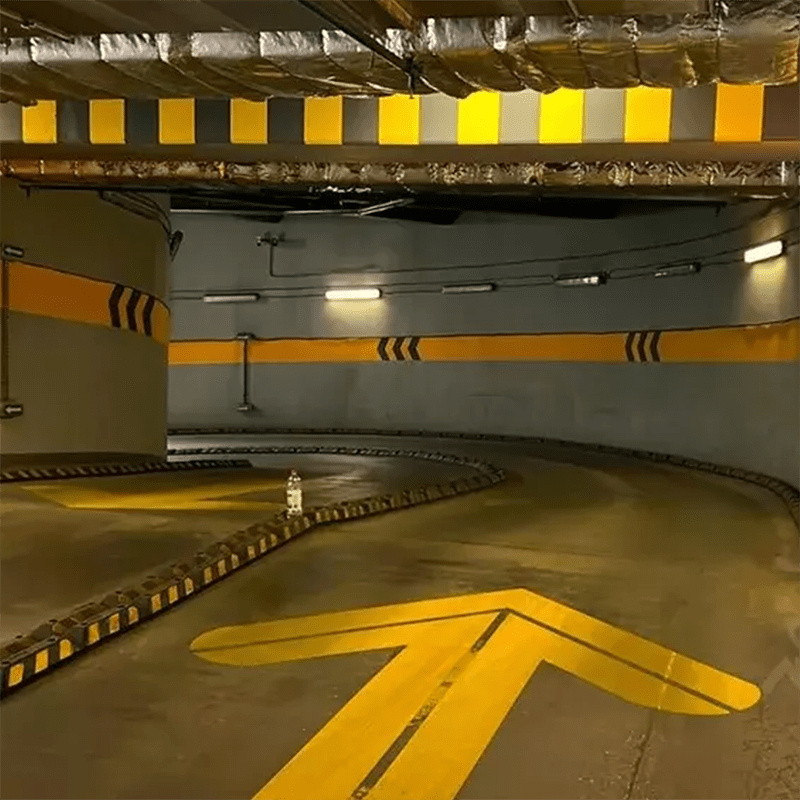

Product Application


Epoxy Ramp Coating Structure

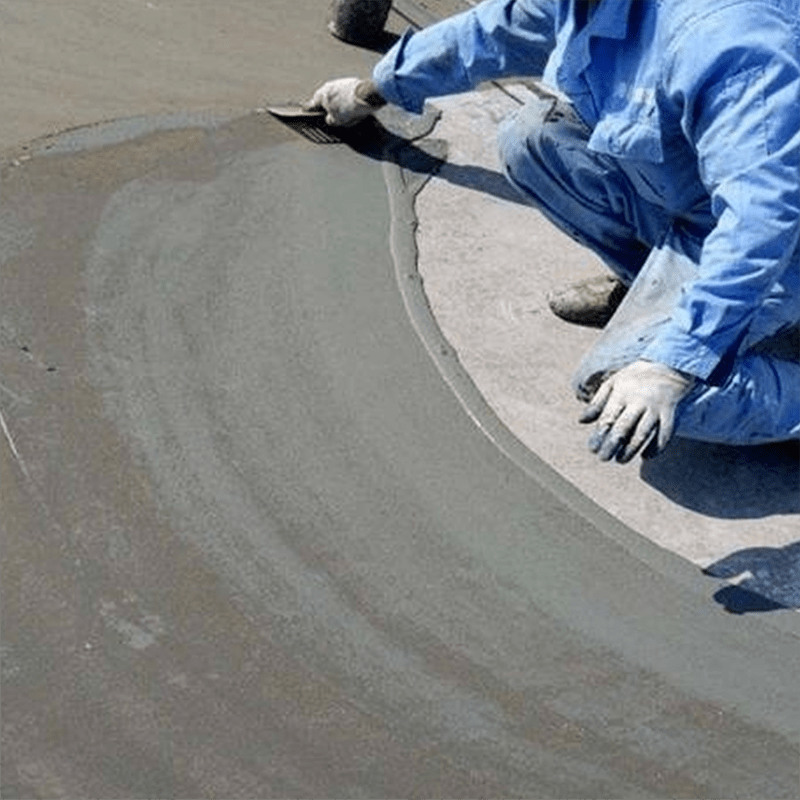
Construction Technology
| Construction sequence | Construction process | Optional materials | Construction method | |
| 1 | Concrete base layer | Polishing | ||
| 2 | Epoxy primer layer | KS-301-1 epoxy floor paint primer | Scrape coating | |
| 3 | Epoxy mortar intermediate coating | KS-301-2 epoxy floor paint intermediate coating | Scrape coating | |
| 4 | Sprinkle quartz sand | Spray coating | ||
| 5 | Epoxy topcoat | KS-301-3 epoxy floor paint topcoat | Roll coating | |
| Process name | Specific practices and requirements | |
| Surface treatment | After thoroughly grinding and planing the base surface, remove dust and check whether there are cracks or hollow shells on the base. If there are, deep cutting and cleaning must be carried out and then filled with epoxy resin mortar. Do not knock violently during cleaning to avoid loosening the base layer on the edge. A flat, seamless, and loose base surface can ensure that the finished the floor is flat, beautiful, and durable. |
|
| Application of base coat | After confirming that the base surface concrete is flat, dry, and free of residue and stains, epoxy primer can be applied. Mix the epoxy primer and curing agent in proportion and stir evenly. Use a roller to roll evenly without missing any coating. The purpose is to seal the base surface, improve the anti-corrosion and waterproof performance of the ground, and ensure the adhesion between the subsequent pressure-resistant layer and the ground. | |
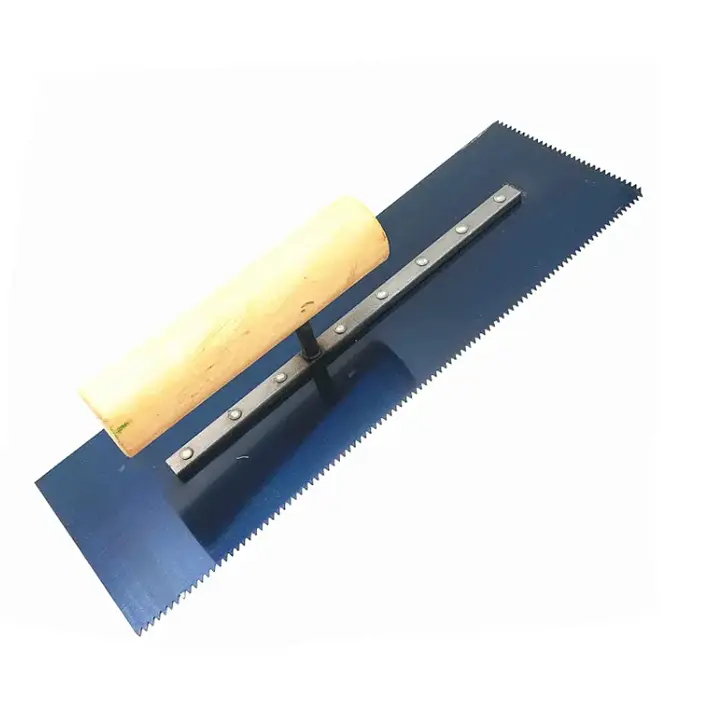
| Intermediate coating for compression resistance | While applying the primer, mix the mixed epoxy high-multiple mortar in proportion, spread it on the ground with a paver, and use an automatic trowel to repeatedly flatten it. Manually scrape the edges and corners to achieve preliminary flatness. After the middle coating pressure-resistant layer is cured, use a small professional hand grinder to fully grind the epoxy mortar layer to make it basically flat and smooth. After completely vacuuming, use a flat knife to scrape two coats of epoxy putty to completely seal the sand holes and pores. Enhance the pressure resistance and impact resistance of the finished driveway. | |
| Sand coating | Use the middle coating paint to apply evenly as the bonding layer for sand grains. Before the bonding layer is not cured, use 40 mesh quartz sand to evenly sprinkle on the bonding layer surface, and the sand grains fully adhere to and cover the bonding layer surface. | |
| Epoxy top coating | After the anti-slip mortar layer is basically cured, it is polished and smoothed and vacuumed. After ensuring the closed surface, roll two coats (or spray one coat) of topcoat material to make the sand grains fully absorb the epoxy resin paint (the construction base surface should be kept clean and there is no cross-operation of other engineering construction). | |
| Floor maintenance | After the topcoat is completed, the relevant construction materials and tools are moved away from the site, and the construction debris and garbage are cleaned up. The finished surface is tightly sealed and protected, and people are allowed to enter and walk at least 24 hours later. No mud or sand should be brought in. It usually takes 7 days for the paint film to cure. During this period, other construction projects, transportation, installation, etc. should be avoided. | |
Color Customization

Finished Product Maintenance
1. After the construction of epoxy floor is completed, it needs to be cured for 7-10 days before it can be put into use. During the curing period, water or other solutions should be avoided from infiltrating the surface.
2. It is recommended that personnel entering the workshop change into rubber-soled shoes to avoid bringing mud and sand from outside into the workshop and scratching the floor.
3. For hardware such as iron chairs, iron tables, iron shelves, etc., it is recommended to wrap their feet with soft plastic or rubber to avoid scratching the floor during use.
4. The forklift needs to fully lift the pallet off the ground. Please pay special attention to the pallet corners when turning, and do not scratch the floor.
5. Please use a soft mop or a wet and dry vacuum cleaner to clean the floor. It can be cleaned with clean water or detergent.
6. Before the equipment enters the factory, it is recommended to lay a hard cardboard box as a bottom to avoid scratching the floor during transportation of the equipment.
7. Please use hard or elastic rubber wheels for the wheels of carts and pallets. It is recommended to use them separately inside and outside the factory.