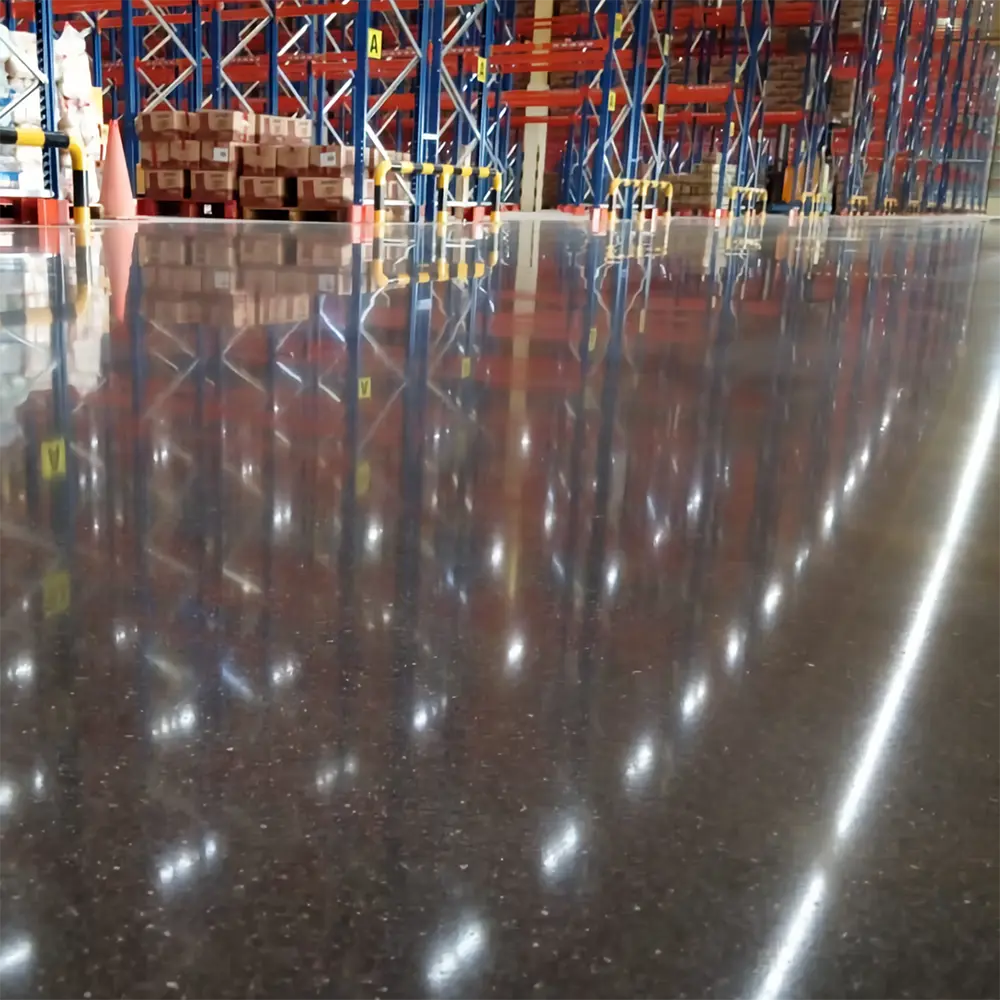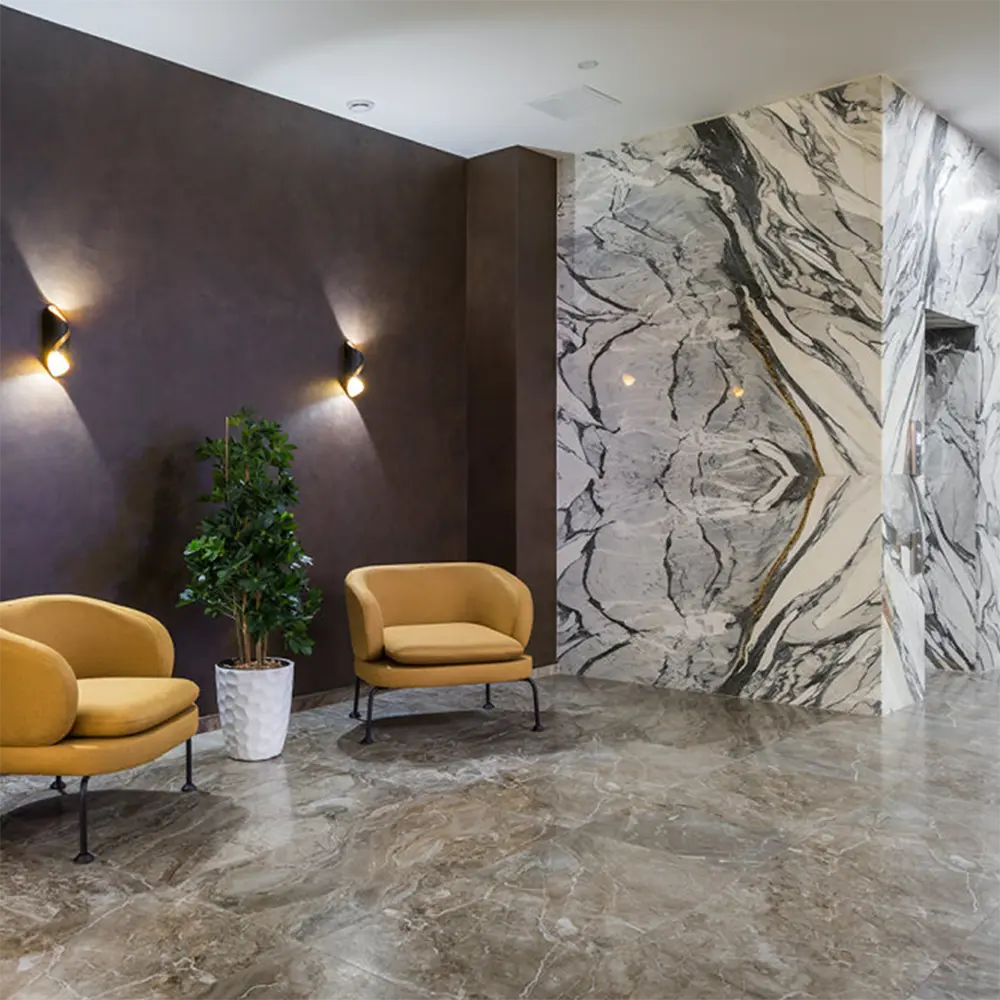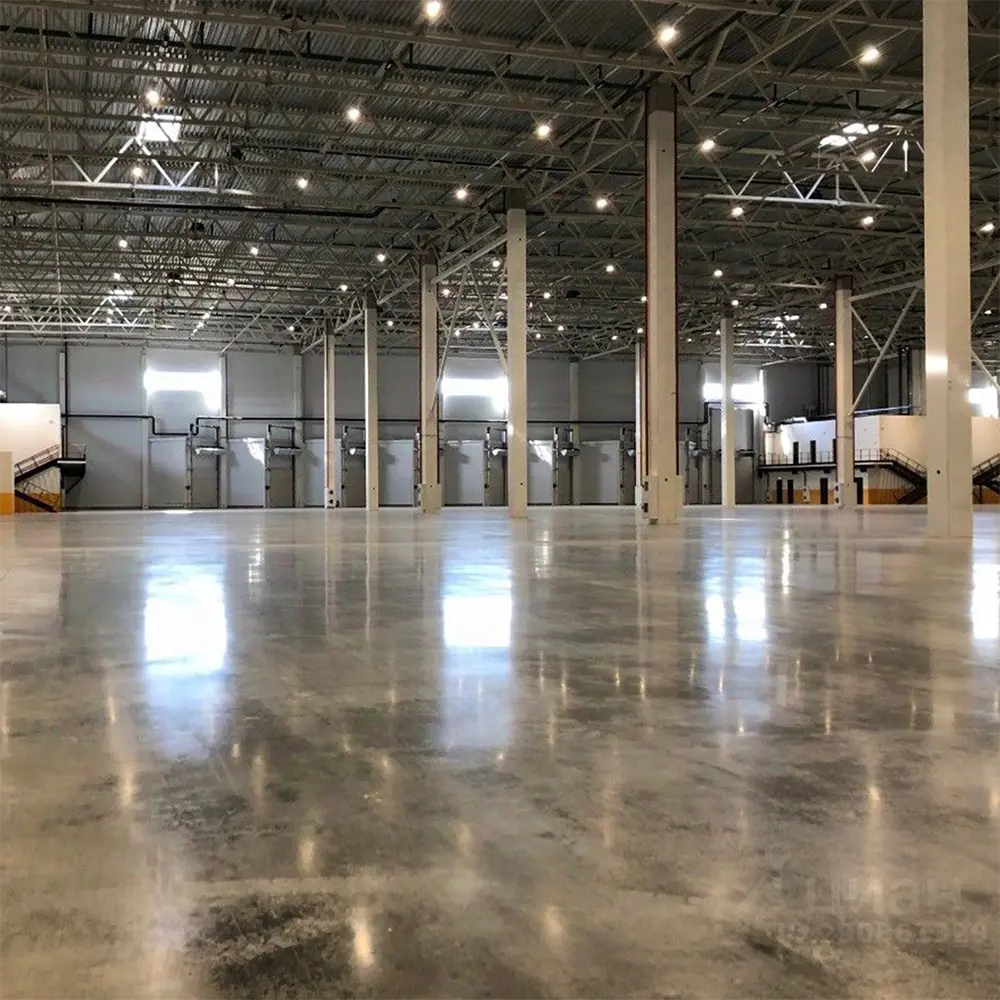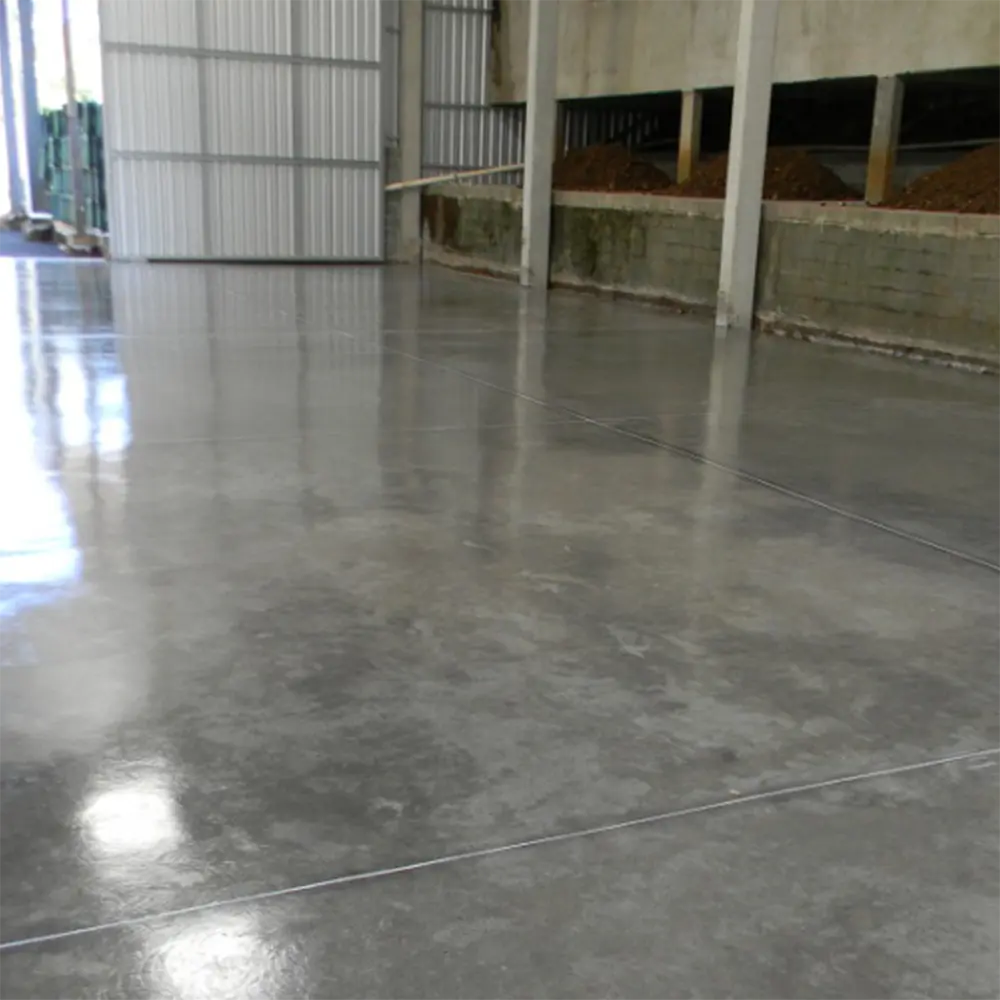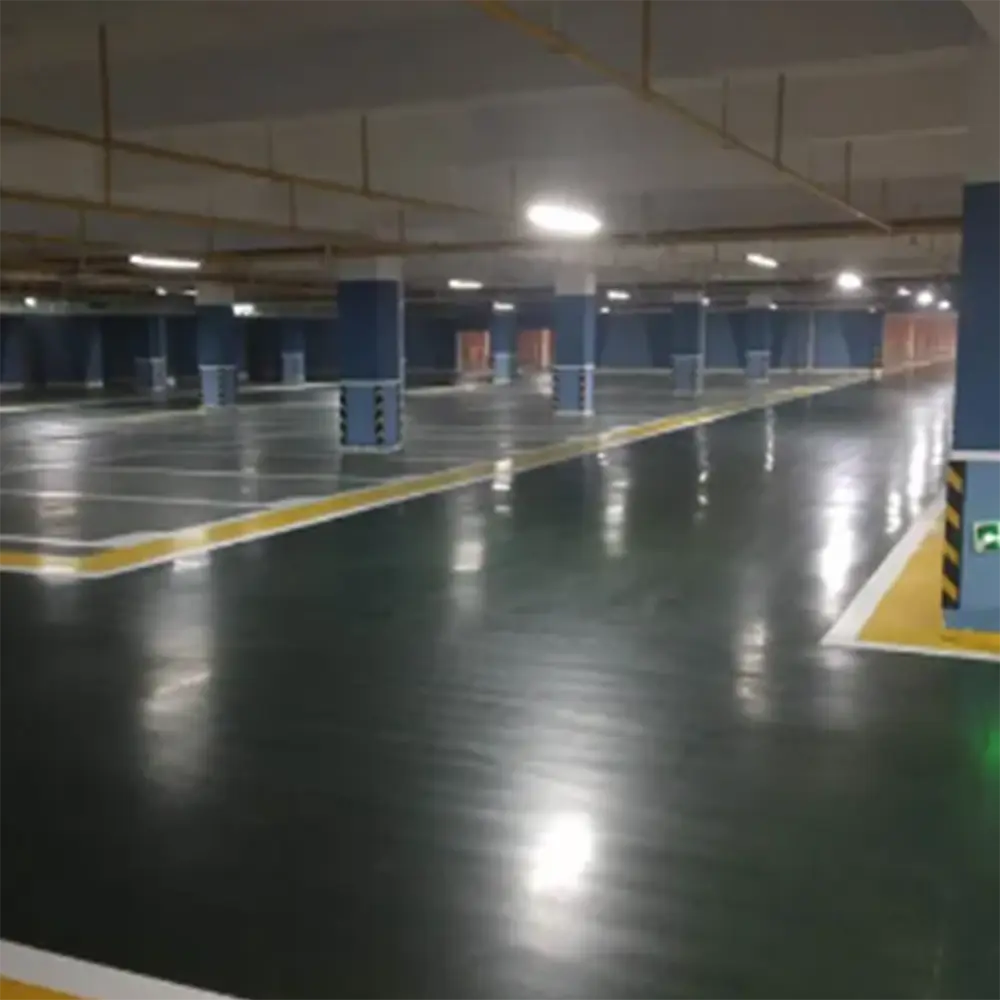

Product Application


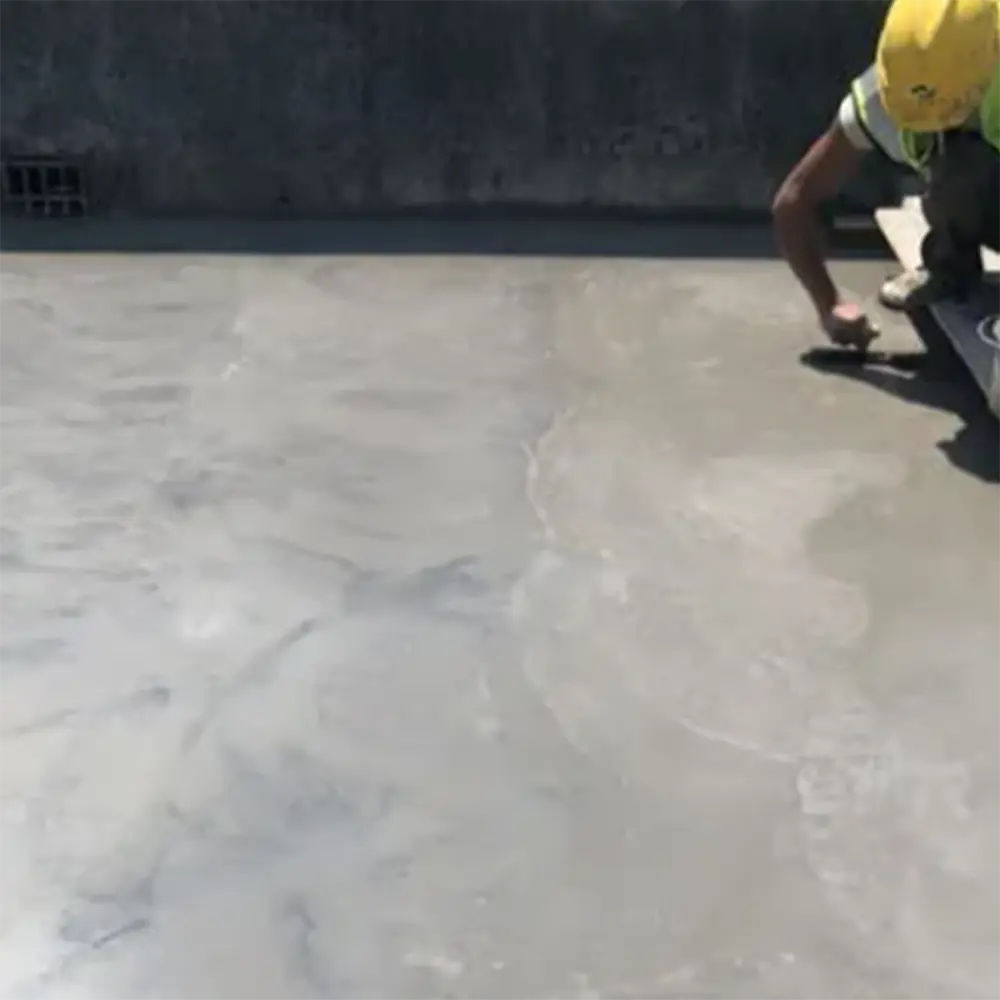
Construction Process
| Specific practices and requirements |
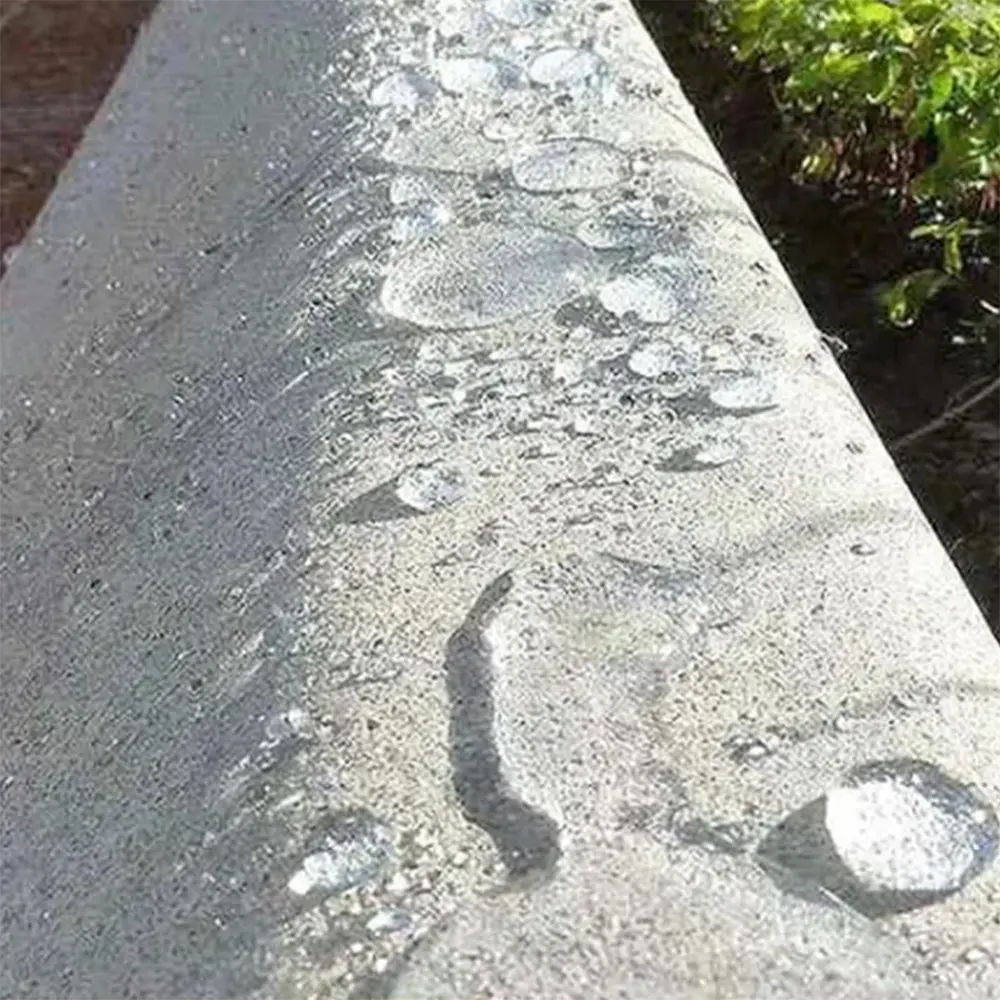
| 1. Dry-grind the concrete to 50# and cure it with concrete sealant KS-503A. |
| 2. Dry-grind the concrete to 500#. |
| 3. The concrete must be dry and its surface must be cleaned. |
| 4. Protect the finished product in non-colored areas. |
| 5. One person pours a sufficient amount of colorant on the concrete surface, and the other person follows up with a dust pusher to spread the colorant repeatedly and evenly until it is completely absorbed by the concrete. |
| 6. If you want to further deepen the color, repeat the coloring 4 hours after the previous colorant is applied and dried to achieve the best coloring effect. |
| 7. Dry naturally for more than 24 hours, and extend the curing time for 7 hours in a low-temperature environment. |
| 8. Use a high-speed polisher with a 2# diamond polishing pad for grinding and polishing. |
| 9. Sprinkle the concrete color fixation hardener KS-503C evenly on the concrete surface, and use a dust pusher to spread it evenly again and again. |
| 10. Keep the floor moist for more than 30 minutes. If the color fixer is completely absorbed by the floor during this period, sprinkle additional color fixer to keep it moist; if the color fixer begins to dry on the concrete surface, sprinkle water to keep the floor moist. |
| 11. After the concrete color fixer is slightly dry, polish it with a high-speed polisher equipped with a 3# diamond polishing pad. |
| 12. If you want to achieve better curing and polishing effects, repeat the color fixation and polishing after the floor is completely dry to achieve the best coloring effect. |

Write your message here and send it to us